

 tel:+86-18825224069
 email:
 address:201, Factory 6, Longhui Industrial Park, Fuqiao 3rd District, Xinhe Community, Fuhai Street, Baoan District, Shenzhen china
pcb assembly and soldering tips How to Solder Wires: A Step by Step Guide
Release date:2022-05-18 17:09:50 Number of views:0
Most electronic projects and electrical components, in one way or another, require soldering. And soldering is an essential skill that we all should have to make our lives easier. Therefore, we will guide you on your first soldering journey. Today’s article looks at soldering, tools, materials, how to solder wires, and safety measures you should employ.
Step 1: Tools and Materials
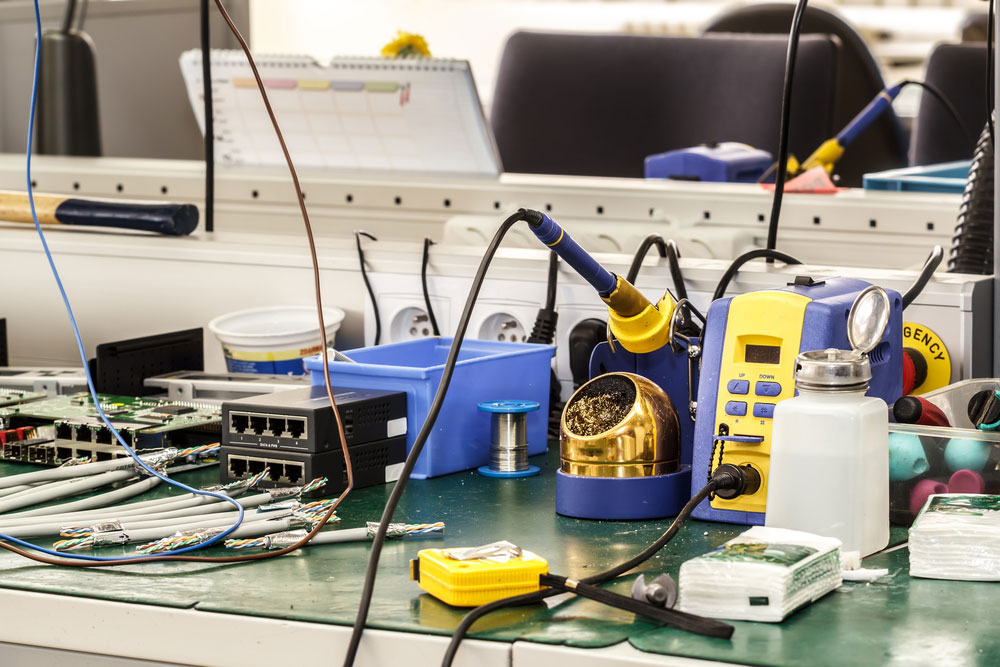
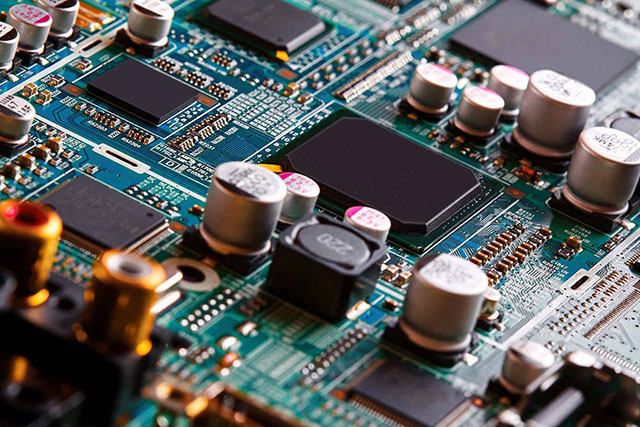
Fig 1: Electronics Equipment Assembly Workplace
Here’s a list of basic tools and materials you will need for most of your soldering projects.
Solder iron and iron tips
Soldering station
Brass or conventional sponge
Soldering iron stand
Soldering wire
63/37 leaded solder
Helping hands/ third hands
Wire stripper
Safety goggles
Rosin flux
Step 2: Splicing Your Wires
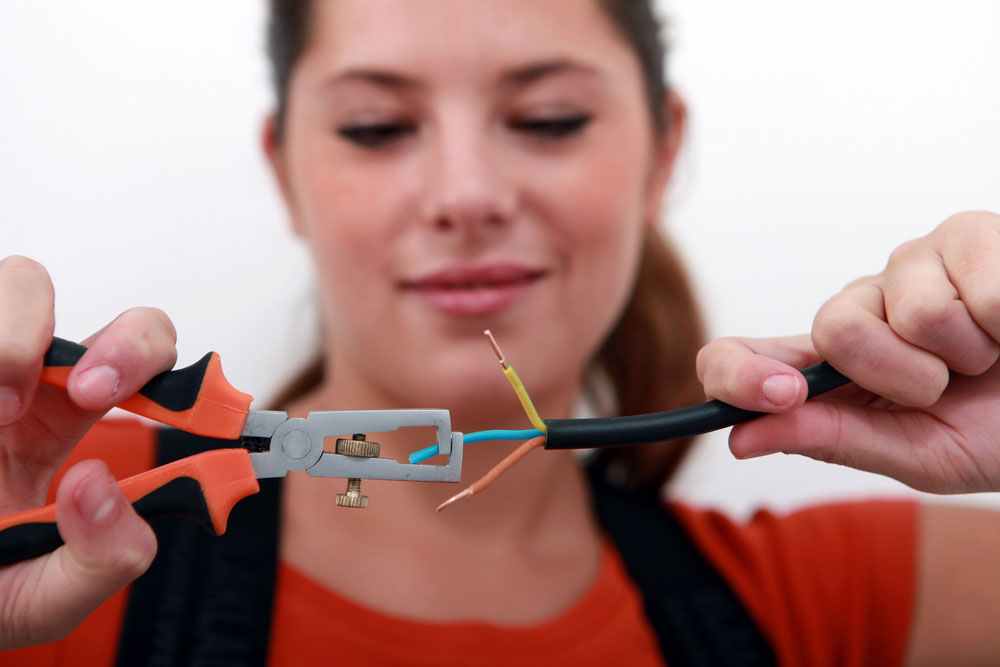
Fig 2: Using a Wire Stripper
First, strip 1-inch insulation off the end of the wires you need to solder using a wire stripper. You can also use a utility knife.
Second, slide a heat-shrink tubing longer than 2 inches or 5.1 cm onto one of the wires. Also, ensure that the heat-shrink tubing is a gauge larger than your wire’s insulation diameter.
Third, twist the end of the electrical wire together to bind them. At the same time, ensure that the strands of wire ends don’t stick up. Your splice should be even on both sides for a solid connection while soldering.
Fourth, use alligator clips to clamp the wires, hold them firmly, and keep them from the work surface.
Finally, apply rosin flux to the spliced wires to keep the solder together.
Step 3: Applying the Solder
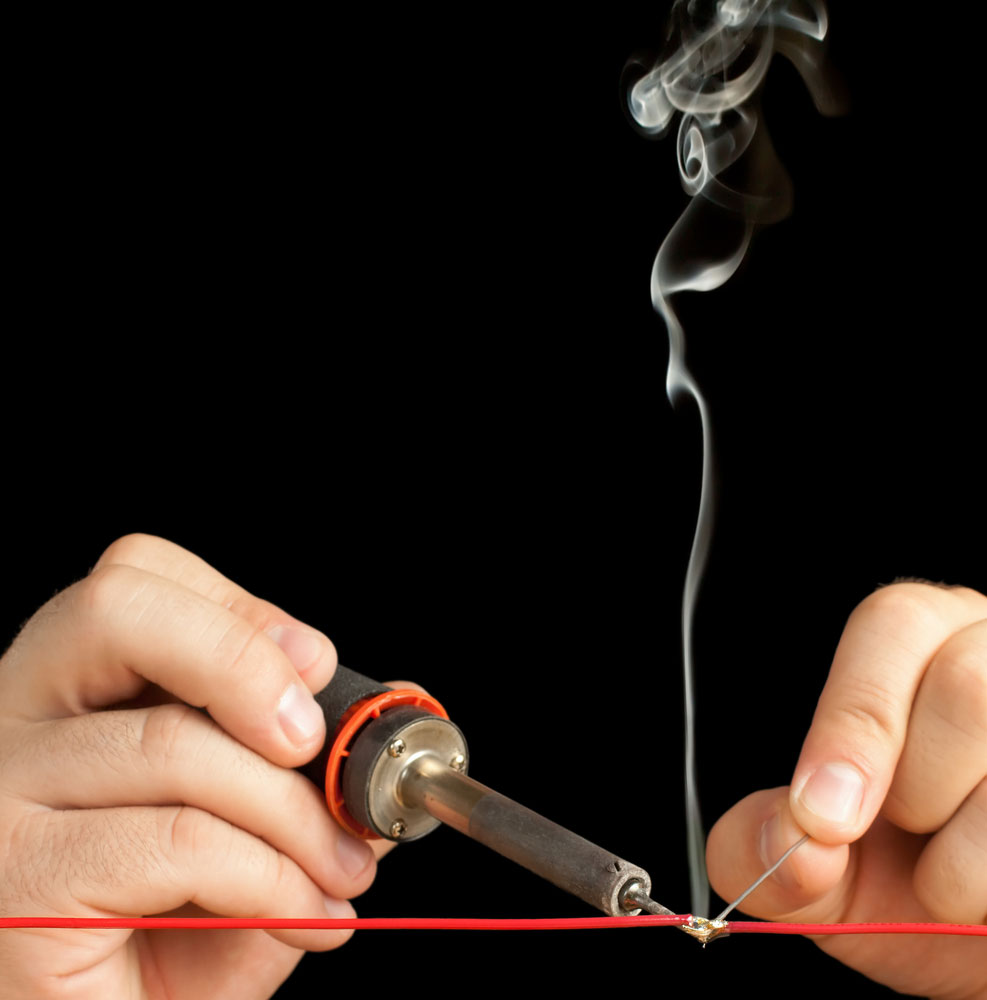
Fig 3: Bonding Two Wires with a Solder Joint
Here is a step-by-step guide to how you can solder your connections, plus some soldering iron tips.
Acquire a 63/37 (63% tin and 37% lead) solder for a start. It has a relatively lower melting point of 361 °F (183 °C).
Additionally, put on safety goggles to safeguard your eyes and turn on the soldering iron.
Once the soldering iron is hot, apply some hot solder onto its tip to prevent oxidation. The process is referred to as tinning and helps the soldering iron heat up evenly.
Also, heat the rosin flux by placing your soldering iron against the bottom of the splice. Add solder to hold the splice together once the flux melts or starts bubbling.
Next, move the solder’s tip along the top of the wires so that it melts into them. For this step, keep the soldering iron on the bottom of the splice.
Continue melting until you uniformly cover the exposed splice with solder creating a permanent bond.
Finally, leave the solder to cool for one to two minutes to solidify and avoid circuit failure.
Step 4: Sealing the Connection
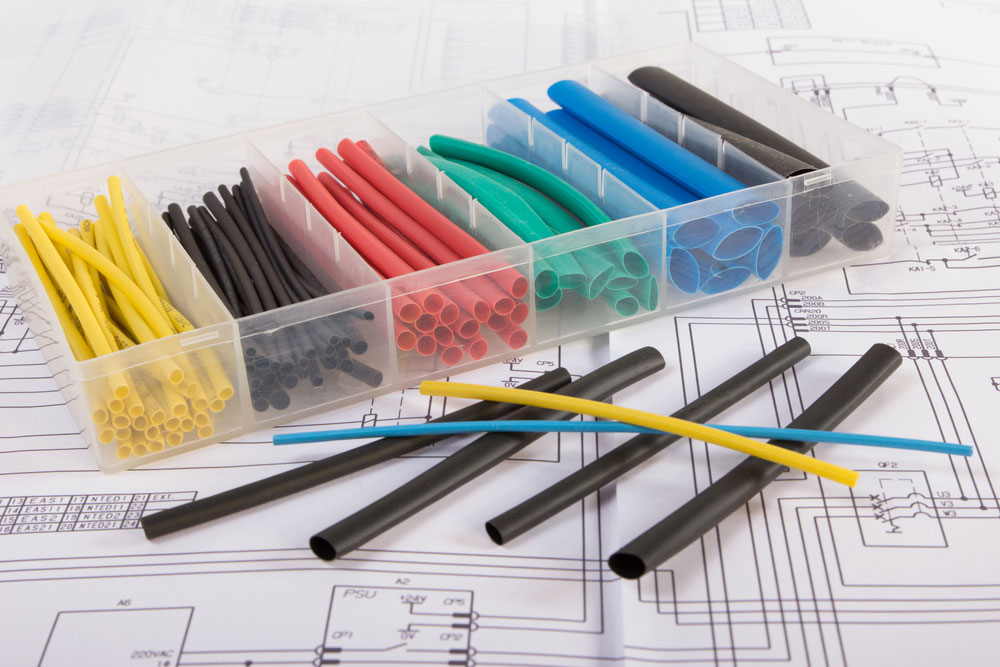
Fig 4:Heat Shrink Tubing
The third and final step involves sealing the connection to prevent electrocution or short circuits that result from exposed wires.
Here are steps you should employ to seal the connection.
First, cover the soldered wire with silicone paste to make it waterproof.
Second, slide the heat-shrink tubing over the soldered wires. Ensure that it goes over the insulation by a minimum of 0.64 cm or ¼ inch. You can also use electrical tape.
Third, shrink the tubing over the soldered wire by heating it using a heat gun. Only stop applying the heat when the heat-shrink tubing holds the wire tightly.
Next, remove excess silicone paste from the tubing sides using a paper towel for a clean solder joint.
Finally, confirm if you have a strong mechanical bond.
Warnings
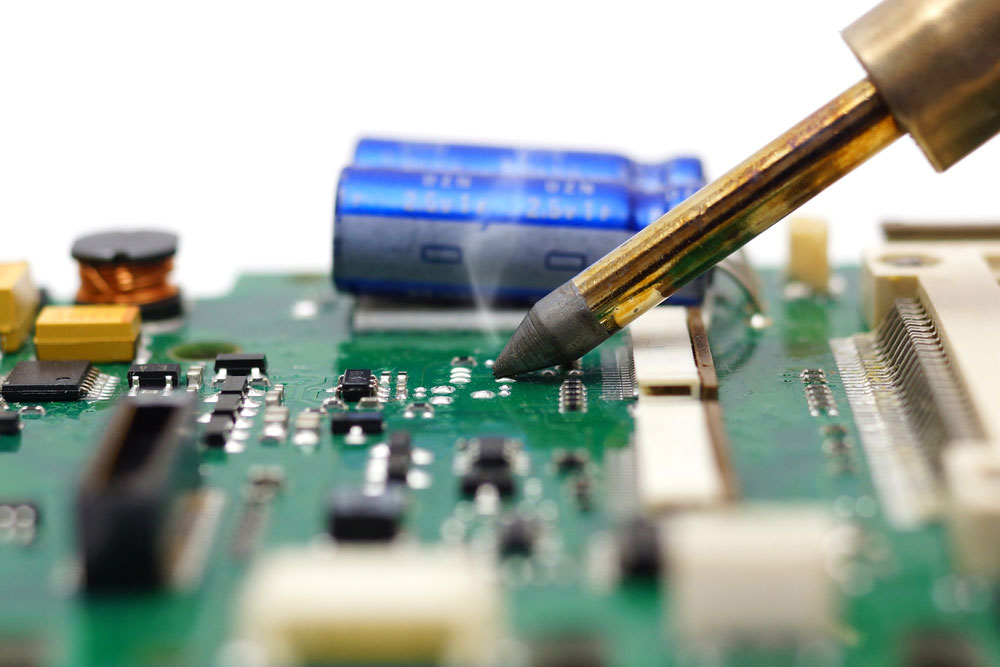
Fig 5: Electrical Engineer Is Soldering on Printed Circuit Board
Please don’t touch the soldering iron while it’s hot, as you may suffer from burns.
Don’t breathe in fumes from the solder as they can be harmful and toxic.
Work in a well-ventilated area to allow for sufficient air circulation. Sometimes, the solder fumes can build up to toxic levels.
Lead is poisonous; hence wash your hands thoroughly after handling leaded solder.
Conclusion
If you are working on an electronic circuit board project, you will need pcb assembly and soldering. And, whether you like it or not, it takes time to perfect the skill. Go over what we’ve covered in today’s article, and you’ll be good.
Finally, for any inquiries, questions, or comments, feel free to contact us. We’ll get back to you as soon as we can.
Comment on this article here
-
No comment

Ripple
Hi everyone, I'm Ripple, Sales Director of KFPCBA Tech Ltd. If you are looking for a one-stop PCB and PCB assembly manufacturer in China, KFPCBA is your best choice! Please feel free to contact our team! Thanks!
Contact me now
Relevant content you may be interested in
Related articles